Product
Resources
Why GiveMeLeads
Pricing
Log in
Start for Free
LinkedIn Sales Navigator
October 27, 2025
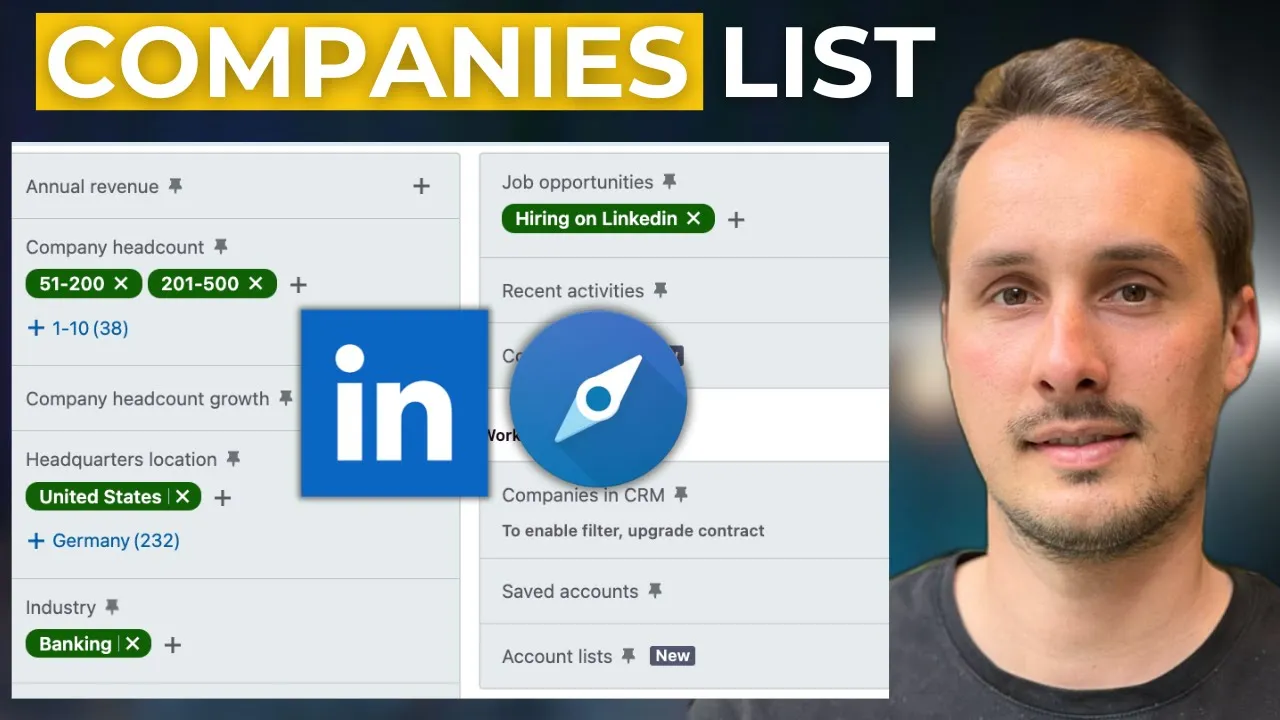
How to Create Account Lists in LinkedIn Sales Navigator (2026 Tutorial)
Vincent Robin
Loading…

 Vincent Robin