Product
Resources
Why GiveMeLeads
Pricing
Log in
Start for Free
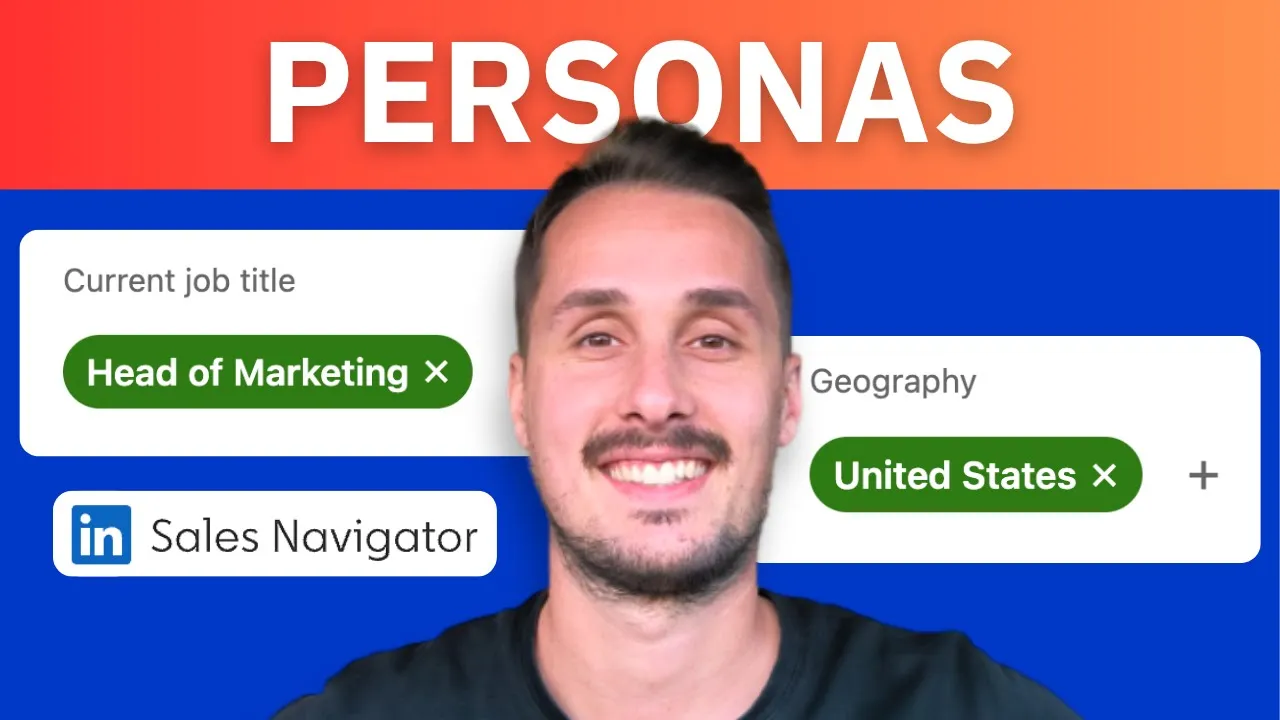
LinkedIn Sales Navigator
April 6, 2026
How to Use the Persona Filter on LinkedIn Sales Navigator (2026 Guide)
Vincent Robin
Loading…

 Vincent Robin